
Social Intents works on every website platform that lets you add a script tag - which is nearly all of them. This guide covers the universal install, then the exact steps for platforms without a dedicated guide: Ghost, Framer, Bubble, Vercel and other static hosts, plus anything else with an HTML injection point. Platforms with dedicated guides: WordPress, Shopify, Wix, Webflow, Squarespace, BigCommerce.
The Universal Install
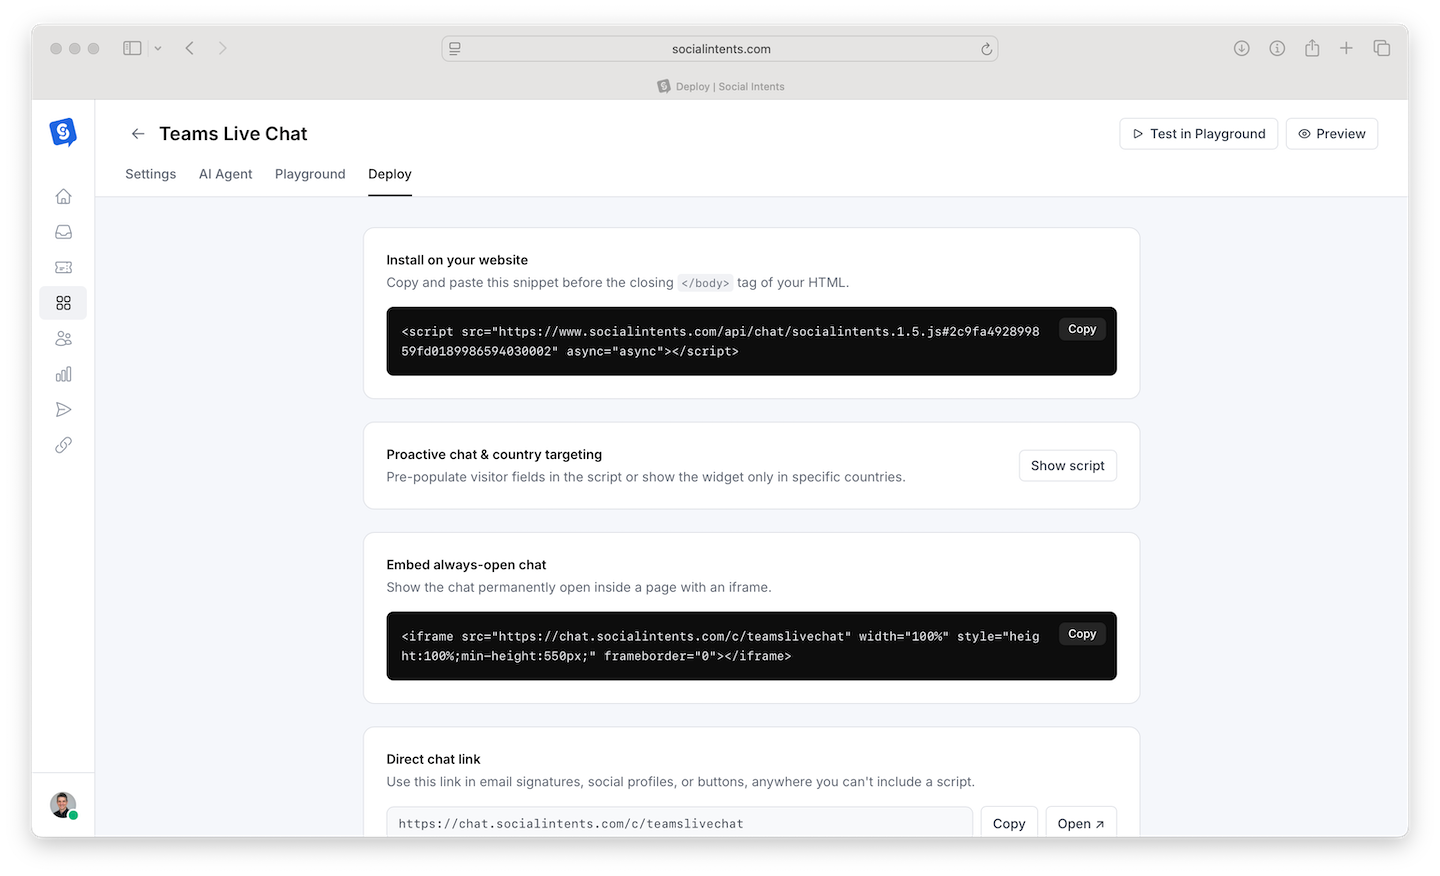
Copy Your Snippet
In Social Intents, go to Chat Widgets → your widget → Deploy and copy the JavaScript snippet. It is unique to your widget.
Paste Before </body>
Add the snippet just before the closing </body> tag on every page where chat should appear - in practice, once in your site's shared layout, theme footer, or "custom code" setting.
Verify
Load your site in a private window; the chat bubble appears within seconds. Full test checklist: Previewing and Testing Your Chat.
Ghost
Ghost's Code Injection feature adds the snippet site-wide without touching your theme:
- In Ghost Admin, go to Settings → Code injection.
- Paste the snippet into Site Footer.
- Save. The widget appears on every page, posts included.
Publication members and paid subscribers chat like any other visitor; pair the widget with a pre-chat form to identify them.
Framer
- In your Framer project, open Site Settings → General → Custom Code.
- Paste the snippet into End of <body> tag.
- Publish the site. Custom code runs on the published site, not in the Framer preview - test on your live URL.
Bubble
- In the Bubble editor, go to Settings → SEO / metatags.
- Paste the snippet into Script/meta tags in body (site-wide), or use an HTML element on specific pages for page-level control.
- Deploy to live. Note: body scripts require a paid Bubble plan.
Vercel, Netlify, and Static/Framework Sites
For Next.js, Astro, Gatsby, plain HTML, or any framework deployed to Vercel/Netlify/Cloudflare Pages, add the snippet to your root layout so it renders on every page:
- Next.js (App Router) - Add the script in
app/layout.tsxusingnext/scriptwithstrategy="afterInteractive". - Plain HTML - Paste before
</body>in your template or each page. - Other frameworks - Any shared layout/footer component works; the snippet is standard async JavaScript with no framework dependencies.
Anything Else
Look for a setting named custom code, code injection, tracking scripts, or footer scripts - every mainstream CMS, site builder, LMS, and ecommerce platform has one. If your platform only allows scripts via a tag manager, use the Google Tag Manager guide. If you can edit theme files, before </body> in the footer template is always right.
Frequently Asked Questions
Does the widget affect page speed or Core Web Vitals?
No - the snippet loads asynchronously after your content renders and does not block paint or interactivity.
Can I show chat only on some pages?
Yes, two ways: paste the snippet only on those pages, or install site-wide and use page targeting rules in the widget's Settings tab - the second is easier to maintain. See Widget Settings and Configuration.
One site, multiple languages or brands?
Use separate widgets per language/brand and install each snippet on its section, or use language settings on a single widget. See When to Use Multiple Chat Widgets.
My platform strips scripts - now what?
Some hosted platforms (certain wiki/helpdesk products, locked-down site builders) disallow custom JavaScript entirely. In that case chat cannot be embedded on-page; a workaround is linking to a hosted chat page from your navigation. Contact support and we will advise for your specific platform.